Guides
Part of Cut flower crop selection and production guide, updated for 2027
Growing zinnias for cut flowers from sowing through the first harvest
Grow zinnias for cut flowers from cultivar selection and warm planting through spacing, support, pinching, irrigation, harvest testing, conditioning, and records.
What to take away
- Choose tall cutting cultivars for the buyer's color, bloom form, stem length, and disease tolerance.
- Plant after frost risk in warm, well-drained soil and avoid holding transplants until root-bound.
- Give the mature canopy airflow, install support early, and water the root zone when possible.
- Pinch only where the cultivar and schedule support branching, then harvest frequently.
- Test stem stiffness, record maturity, and compare vase life by cultivar and handling method.
Zinnias are productive warm-season annuals, but dependable cutting quality requires more than getting them to bloom. Dense spacing can weaken stems and slow drying. Missed harvests produce overmature flowers. Root-bound transplants may stall. Cultivars vary in height, form, disease response, and market acceptance.
Use this procedure as a trial framework. Adjust dates and spacing to regional extension guidance, soil results, cultivar instructions, and the farm's sales specifications.
1. Define the saleable stem
Before ordering seed, ask buyers about:
Buyer questions before ordering seed
- Preferred color families and bloom forms
- Minimum and ideal stem length
- Open-flower stage required
- Bunch size and color mixing
- Tolerance for side buds, foliage marks
- Delivery weeks and weekly volume
Choose cutting cultivars with enough plant height and stem strength. Keep separate records by cultivar. A series name does not guarantee identical performance across colors.
2. Prepare the bed
Select full sun and well-drained soil. Test soil and correct measured needs without pushing soft, excessive growth. Build a bed narrow enough to harvest without leaning through foliage.
Install drip irrigation and support stakes before the canopy closes. If using horizontal netting, set the first layer early and raise or add support as plants grow. Plan walking space for frequent cutting.
3. Choose direct seeding or transplants
Direct seed after frost danger when soil is warm enough for reliable emergence. Keep the shallow seed zone evenly moist until establishment, then thin to the planned stand.
Direct seeding vs transplants
Direct seeding
- Timing
- After frost danger
- Soil
- Warm enough to emerge
- Moisture
- Keep seed zone evenly moist
- Aftercare
- Thin to planned stand
- Root risk
- Minimal disturbance
Transplants
- Timing
- Where season supports
- Soil
- Prepared bed ready
- Moisture
- Water in after setting
- Aftercare
- Harden gradually
- Root risk
- Avoid circling or binding
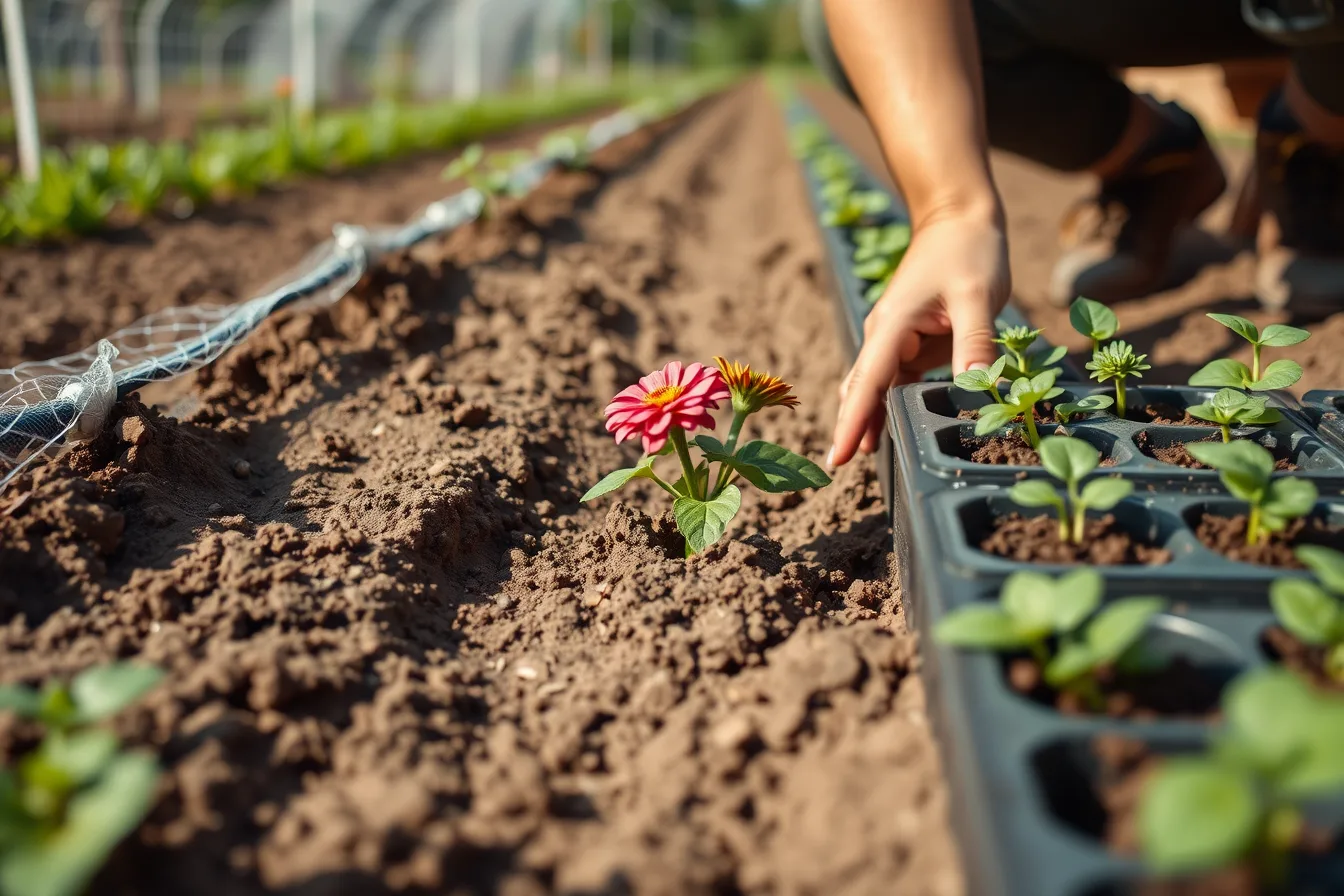
Transplants can advance harvest where the season supports them. Sow close enough to planting that roots do not circle or bind. Harden plants gradually and disturb roots as little as practical.
Utah State University Extension's production sheet describes zinnias as frost-sensitive warm-season annuals and gives detailed guidance for direct seeding, transplant timing, and cultivar-dependent spacing. Its trial conditions are specific to Utah, so use the principles with local frost dates and soil information rather than copying a calendar.
4. Set spacing as a trial variable
Closer plants may produce narrower stems and a dense canopy. Wider spacing can increase branching and airflow but uses more bed area per plant. Compare at least two locally reasonable spacings for a new cultivar.
Spacing as a trial variable
Closer spacing
- Stems
- Narrower stems
- Canopy
- Dense canopy
- Bed use
- More plants per foot
- Record
- Plants per bed foot
Wider spacing
- Stems
- More branching
- Canopy
- Better airflow
- Bed use
- More area per plant
- Record
- Row count, bed width
Record plants per bed foot, not only inches between plants. Include row count and bed width so the trial can be repeated.
5. Pinch deliberately
Pinching removes the growing point to encourage branches. It can delay the first harvest while increasing later stem count. Leave an unpinched comparison when the cultivar is new.
Pinch only healthy, established plants at the farm's tested node count. Sanitize tools as the disease plan requires. Record date, plant stage, crew time, and later stem yield.
6. Irrigate and feed from evidence
Keep young plants evenly moist without maintaining a saturated root zone. As plants establish, apply water to the root zone and check moisture at depth. Avoid routine overhead irrigation late in the day where wet foliage could extend disease-favorable periods.
Base nutrients on soil tests, crop observation, and regional guidance. Excess fertility can create rank growth and may not improve marketable yield.
7. Scout the canopy
Inspect growing tips, leaf undersides, flowers, and lower foliage. Zinnias can develop powdery mildew and other leaf spots, while insects may scar or distort blooms. Record incidence by cultivar because tolerance can differ.
Improve airflow, keep weeds down, remove severely affected material under the farm's sanitation plan. Confirm the cause before treatment, and do not save seed or propagation material from plants with unexplained systemic symptoms.
Clemson University's zinnia fact sheet leans the same way, favoring cultural prevention and gentle options first because zinnias feed many beneficial insects. It names aphids, spider mites, and whiteflies as likely pests in hot, dry weather.
8. Harvest at tested maturity
Select flowers with the buyer's required openness. Before cutting, gently move the stem several inches below the bloom. A stem that remains stiff is generally more mature than one that bends freely, but validate this field test by cultivar and vase trial.
Cut in the cooler part of the day from hydrated plants. Use clean, sharp tools. Make the cut above a suitable node to preserve future branching, then place stems promptly into the crop's approved clean solution and shade.
9. Condition and grade
Remove foliage that would sit below the solution. Grade for stem length, straightness, bloom size, maturity, foliage condition, and damage. Keep cultivar and harvest lot identity through the cooler and vase test.
Do not force every stem into one bunch. Cull short, weak, diseased, or damaged material according to the written standard, and record the reason.
10. Close the crop record
At season end, total marketable stems by cultivar and bed foot. Add days of harvest, labor, rejected stems, disease weeks, realized price, and vase performance. Decide whether to repeat, change spacing, change timing, or drop the cultivar.
Common questions
Do zinnias need support?
Tall cutting cultivars often benefit from horizontal support, especially in wind or soft growth. Install it before stems lodge.
Must every zinnia be pinched?
No. Pinching changes timing and branching. Test it against an unpinched group for the cultivar and desired market window.
Can zinnias be succession planted?
Yes. Later plantings can extend supply, but heat, frost, disease pressure, and shortening days change results. Track each planting separately.
Why record cull reasons?
Cull categories show whether the limiting problem is stem length, disease, insects, maturity, breakage, or unsold volume. Each calls for a different correction.