Guides
Part of From seed lot to hardened transplant: propagating cut flowers step by step
Start Cut Flower Seeds Under Lights: Rack, Distance, Hours
Start cut flower seeds under lights: Extension light distances and hours, counting trays for peak load, airflow, temperature and fixes for leggy growth.
What to take away
- Size the rack for the peak number and mature height of trays, not the first sowing.
- Mount fixtures so their height can be adjusted, and run them on a timer.
- Daily light depends on intensity and duration, and distance matters as much as hours.
- Keep the lights close and raise them as the plants grow.
- Long pale stems point to insufficient light, excessive warmth, crowding, or a combination.
Build the rack around the plants, not the seed packets
An indoor setup should produce compact, labeled plants at a scheduled size, ready for the field on the date the succession plan sets. Each shelf must deliver enough light, safe electricity, even temperature, drainage, and access for inspection.
Sowing depth, medium and hardening are covered in propagating cut flowers. The steps below deal with the rack itself: how many trays it must hold, how the lights are mounted and run, and how to read the plants beneath them. Follow seed-packet and crop-specific instructions where their temperature or timing differs.
Calculate peak capacity
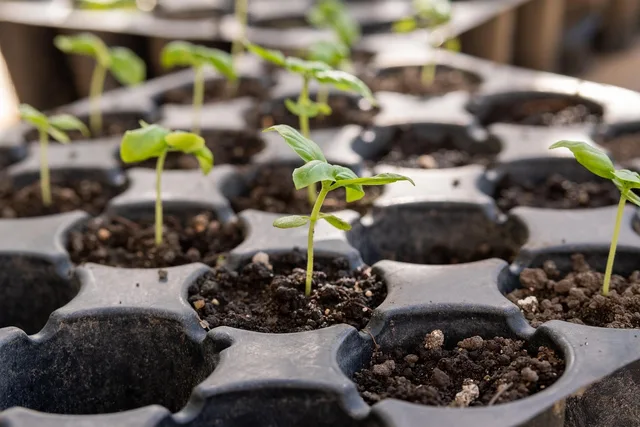
List every sowing date and the weeks each tray will remain under lights. Count trays by week. Include potting-on space, replacements, and slow germinators. A shelf that holds eight new flats may hold only four larger transplants later. The succession calendar's nursery overlay charts that shrinkage week by week.
Tray count shrinks as plants grow
- 8New flats per shelf
- 4Larger transplants per shelf
Leave vertical room for fixtures and plant growth. Make sure every tray can be removed without unloading the entire rack. Provide a waterproof floor or tray and keep electrical connections above possible spills.
Choose and mount the fixtures
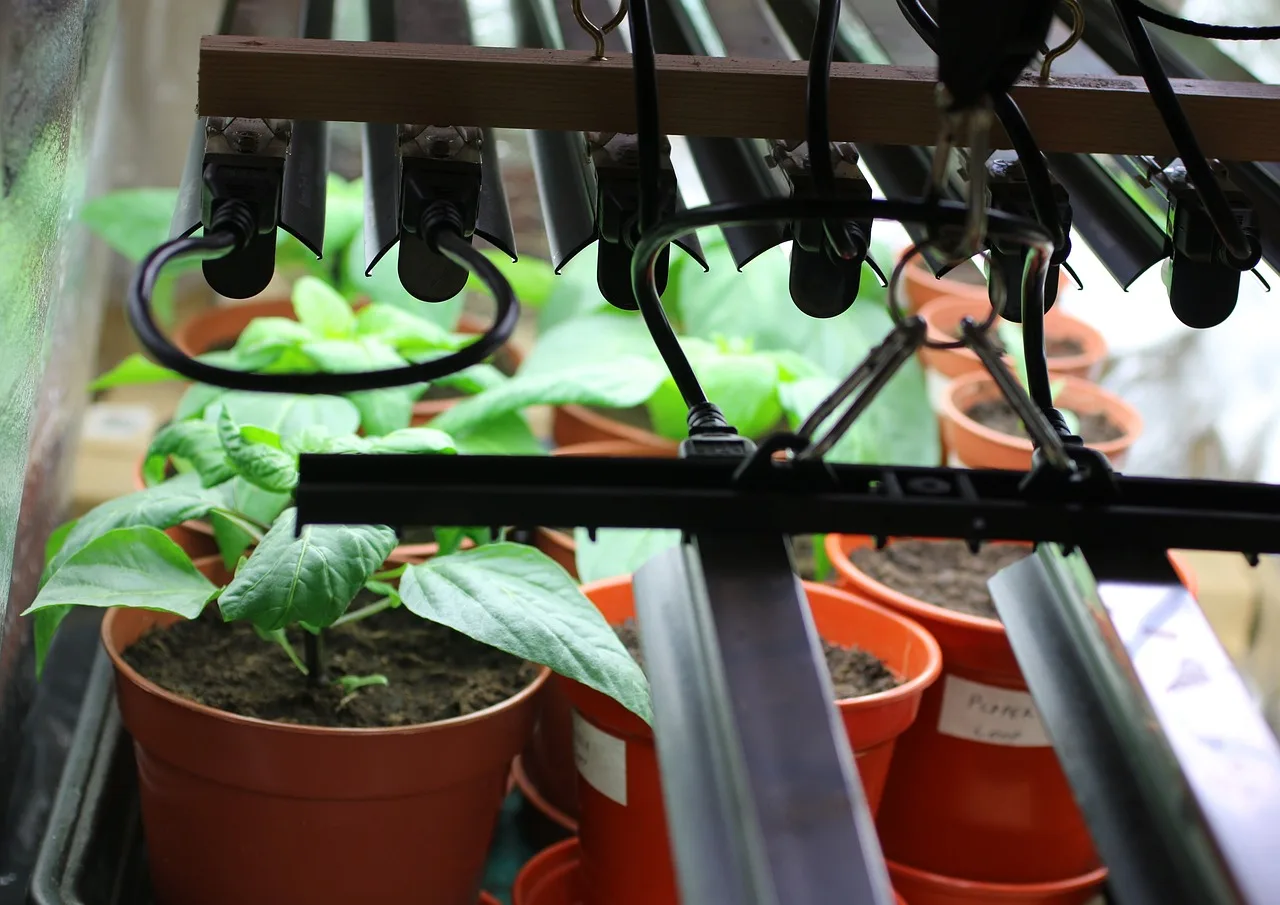
Choose fixtures made for the space and mount them so height can be adjusted. Use a timer for a repeatable day length. Measure performance at the canopy if precision matters; fixture wattage alone does not state how much useful light reaches the leaves.
University of Maryland Extension's guide to grow lights for seed starting says window light alone is seldom enough, and seedlings reach for it instead of thickening. The same guide compares fixtures: T-5 fluorescent tubes are relatively expensive but typically allow for faster, stronger plant growth than T-8 shop lights, and full-spectrum grow tubes produce thicker stems than cool white tubes.
Distance and hours work together
University of New Hampshire Extension's fact sheet on growing seedlings under lights explains daily light quantity through the combined effects of intensity and duration. That is why extending a very dim day does not always replace adequate intensity.
The fact sheet gives working numbers: its rough guide assumes seedlings want 12 moles of light per square meter per day, the daily light integral (DLI). Most seedlings can be grown to transplant stage under high quality T8 four-bulb fluorescent shop lights. The lamps need to be kept less than one foot above the seedlings and run for 22 hours to reach the DLI ideal for sun-loving plants.
Distance matters as much as hours: one LED light bar the author tested needed eight hours per day mounted 8 inches above the crop, but 16 hours per day mounted 20 inches above it. Keeping the lights close and raising them as the plants grow is how the same fixture avoids leggy, stretched seedlings.
Airflow, temperature and a clean rack
Add gentle air movement after emergence. The aim is to reduce stagnant humidity and strengthen growth without drying one edge of the tray.
Place a probe where seeds are germinating. Air temperature across a room can differ from medium temperature on a cold shelf or warm mat. Use bottom heat only where needed, and remove or reduce it after emergence when the crop calls for cooler growth. Group crops by temperature requirement rather than putting every tray on the same heated surface.
A clear cover can reduce moisture loss during germination, but it can also trap heat and humidity. Keep covered trays out of direct sun, and remove or vent the cover at the crop-appropriate emergence stage so the warmth does not carry into the seedling stage.
Wash reusable trays, then use the sanitation method recommended for the material and disease risk. Rinse where required and let them dry. Keep clean trays away from used soil and field tools. Waterproof labels carry crop, cultivar, lot, sowing date, and succession number, matched to a sowing log.
Raise the lights as leaves approach
Check trays at least daily. Once emergence begins, put seedlings at the correct fixture distance and start the established light schedule. Raise lights as leaves approach them.
Rotate trays only if measurements or growth patterns show uneven delivery. Rotation should not conceal a failing fixture. If a tray keeps leaning or pales on one side, measure the light at that spot before changing anything else.
Read the seedlings under the lights
Long pale stems, leaning, and wide internodes commonly point to insufficient light, excessive warmth, crowding, or a combination. The table sorts the signs by what to check first.
| What you see | What to check | Adjustment |
|---|---|---|
| Long pale stems and wide internodes | Fixture distance, hours, and intensity at the canopy | Lower the fixture or lengthen the day to reach the daily light target |
| Leaning toward one side | Evenness of light across the tray | Measure the canopy and correct the fixture rather than rotating indefinitely |
| Stretching with warm, humid air | Medium temperature and airflow | Reduce bottom heat after emergence and add air movement |
| Tall, crowded cells | Spacing and timing | Thin crowded cells, or pot on or reschedule |
| Pale leaves | Roots, moisture, temperature, pH, and light | Inspect each before increasing feed |
Pale leaves are the one sign where light is not the first suspect. Inspect roots, moisture, temperature, pH, and light before increasing feed.
Fit the rack to the schedule
A rack is only as useful as the dates it holds. Check trays against the succession plan so that no tray occupies a shelf past the week it should have moved out. The seed starting checklist lists what to confirm before each sowing.
When trays leave the rack, plants should be gradually hardened and then planted out. The mistakes that undo good rack work come later, and growing mistakes collects them. Plan the bed before the trays are ready, with the first cut flower bed as a starting point.
Track each lot through germination, thinning, hardening, and field survival. Count survivors after the planned establishment interval, so the next season's rack is sized from what the field actually kept.
Common questions
How close should lights be?
Close, and closer than most growers expect: the University of New Hampshire Extension distances for shop lights and LED bars are above. Then watch canopy temperature and growth, and raise the fixture as leaves approach it. Different fixtures deliver different intensity and heat.
How many hours should lights run?
Long enough to reach the daily light target at the distance you mount the fixture. The required hours change with fixture type and height. Plants also need a dark period, and daily light depends on both duration and intensity.
Why are seedlings leaning?
Uneven light, low intensity, high temperature, crowding, or a distant fixture can contribute. Measure and correct the environment rather than rotating indefinitely.
Can a bright window replace the rack?
Window light alone is seldom enough, and seedlings reach for it instead of thickening. A rack with adjustable lights and a timer gives a repeatable day length.