Guides
Part of Cut flower nutrition, from bed history and pH to a monitoring routine
Is a quick soil sample enough to represent a whole cut flower bed?
Soil sampling for cut flower beds explained step by step, including zone mapping, clean tools, consistent depth, composite mixing, labels, and reports.
What to take away
- Divide the site into management zones before collecting any cores.
- Take many small subsamples at one consistent depth to represent each zone.
- Exclude fertilizer bands, compost piles, wet pockets, and odd spots unless testing them separately.
- Use clean tools and containers, mix thoroughly, and label the final sample immediately.
- Submit the crop and management information the laboratory needs to make a useful recommendation.
A laboratory analyzes only a small portion of the soil delivered to it. That small portion must stand in for an entire bed or field. Careful sampling matters because the laboratory cannot correct a sample that overrepresents one compost spill, path edge, or unusually weak plant.
Obtain the chosen laboratory's current instructions and submission form before starting. Depth, sample quantity, drying instructions, and available tests can differ. Use this workflow as the field framework, then follow the laboratory where its directions are more specific.
Step 1: define separate sampling zones
Draw a map and divide areas that have different soil, slope, drainage, crop history, or amendment history. A new imported-soil bed should not be combined with native ground. A high tunnel may be managed separately from open field because rainfall, irrigation, and salt movement differ.
Sampling Zones by Condition
Separate Zone
- Soil type
- Different
- Slope
- Different
- Drainage
- Different
- Crop history
- Different
- Amendment history
- Different
- High tunnel vs field
- Separate
Same Zone
- Soil type
- Same
- Slope
- Same
- Drainage
- Same
- Crop history
- Same
- Amendment history
- Same
- High tunnel vs field
- Combine
Give each zone a permanent identifier such as F02-B03. Avoid names such as "back bed" that become unclear after expansion.
Step 2: choose timing
Sample far enough before planting to receive the report, buy materials, and make corrections at the appropriate time. Repeat sampling at a similar point in the crop cycle when comparing years.
Avoid collecting immediately after fertilizer, lime, manure, or compost application. Do not sample saturated or frozen soil unless the laboratory specifically permits it. Record the last relevant application and sampling conditions.
Step 3: assemble clean equipment
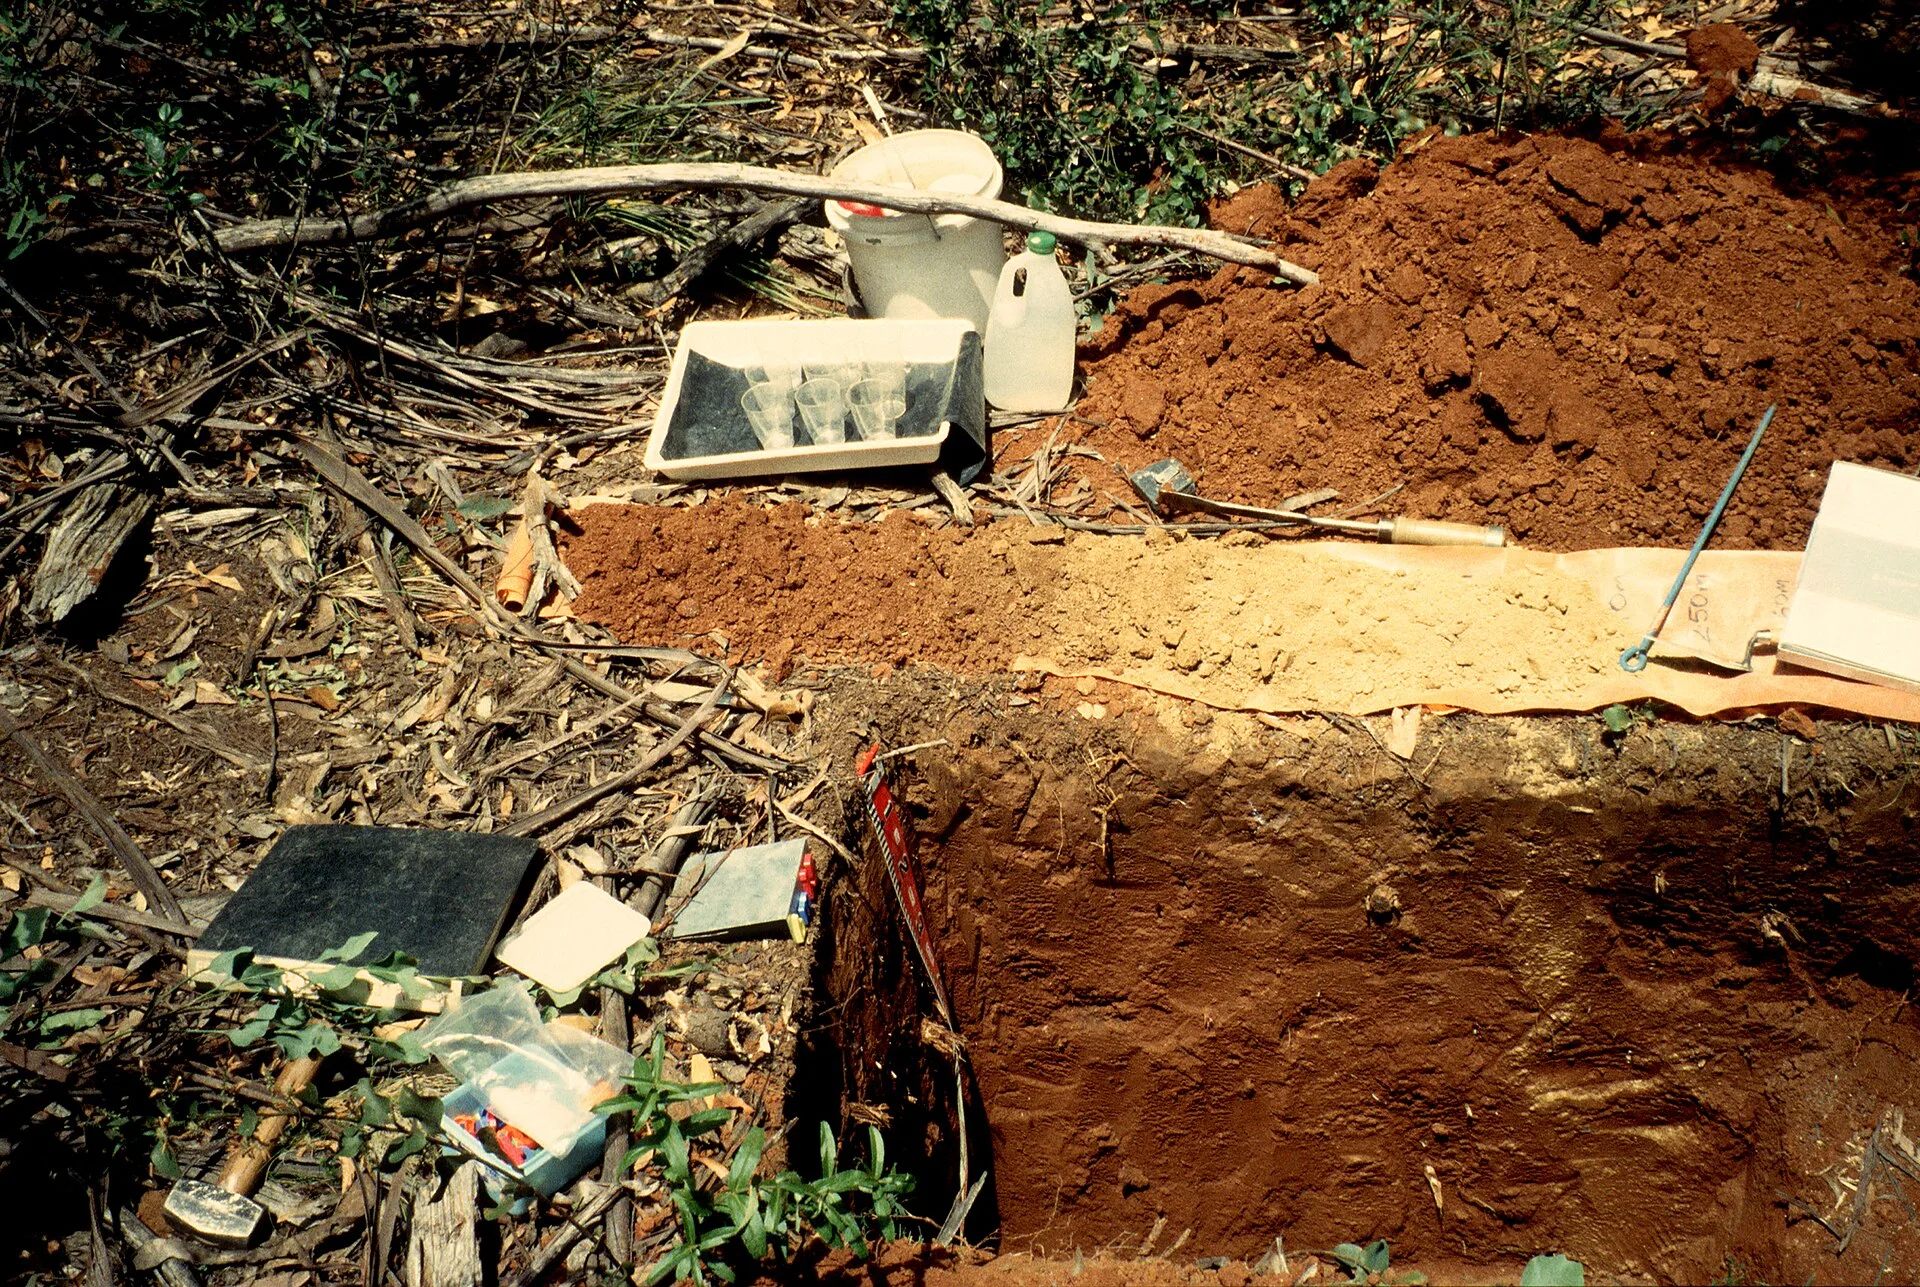
Use a soil probe, auger, or clean trowel that can produce a consistent slice. Gather a clean plastic bucket, laboratory bag or box, permanent marker, map, and submission form. Avoid a container that previously held fertilizer, lime, feed, or chemicals.
Check whether galvanized or brass tools could interfere with a requested micronutrient analysis. The laboratory's method should decide the equipment where trace contamination matters.
Step 4: walk a representative pattern
Move across the zone in a zigzag or another pattern that covers its full area. Take multiple small subsamples rather than one large scoop. Keep each core at the laboratory's specified depth for the crop and tillage system.
Penn State Extension's demonstration of how to take a soil sample emphasizes proper tools, sampling depth, and mixing so the submitted material represents the garden rather than a single point. The exact number of cores should follow the laboratory's instructions and the size and variability of the zone.
Step 5: avoid unrepresentative spots
Skip these areas in a routine composite sample:
Avoid unrepresentative spots
- fertilizer bands and spills;
- the site of an old manure or compost pile;
- path edges and headlands;
- fence lines and drip points;
- standing-water pockets;
- areas near buildings, roads, ash, or treated lumber;
- a single diseased or unusually strong plant; and
- soil directly beneath a mulch heap.
If an unusual area needs diagnosis, collect and label it as a separate sample. A paired normal-versus-problem comparison is often more informative than hiding both conditions in one average.
Step 6: make a uniform slice
Remove surface debris without scraping away the soil horizon. Insert the tool vertically. With a trowel, cut a uniform slice and retain a narrow central portion from the full specified depth. Do not take a wide scoop at the surface and a narrow point below, which overrepresents shallow soil.
Place each subsample from the same zone in the clean bucket. Break clods by hand and remove stones and large plant debris according to the laboratory's directions.
Step 7: mix and reduce the composite
Mix all subsamples from the zone thoroughly. Spread the mixture in the clean container and take small portions from several places until the required submission amount is reached. Do not select only the finest soil after larger particles settle.
Air-dry the sample if instructed, protecting it from dust and cross-contamination. Never use heat unless the laboratory explicitly directs it.
Step 8: label before moving on
Write the zone identifier, depth, date, intended crop, and sampler on the container. Match it to the map and field log. A first-bed layout drawn to scale can serve as that map. Complete one zone before opening the next sample bag so labels cannot be switched.
Record:
Label before moving on
- Zone
- F02-B03
- Area represented
- 720 square feet
- Depth
- Laboratory-specified depth
- Previous crop
- Annual cut flowers
- Last amendment
- Product, rate, date
- Current concern
- Routine baseline or defined symptom
Step 9: request the right analysis
Select the actual crop or closest suitable laboratory category. State whether the area is field soil, raised bed, high tunnel, or container medium. A routine fertility panel may not include organic matter, soluble salts, nitrate, heavy metals, or a physical-texture analysis.
Order extra tests because a decision requires them, not because more numbers look thorough. For an urban site with an uncertain history, ask the laboratory or Extension service which contaminants and sampling method are appropriate before disturbing the ground.
Step 10: receive and preserve the result
Attach the report to the zone map and application record, and Check units before calculating any product. Keep the original recommendation, even if the plan changes, so the applied rate can later be audited.
Clemson University's soil testing fact sheet notes what the report protects against. Following its lime and fertilizer recommendation heads off hidden deficiencies, salt burn, delayed maturity, and wasted money from overapplication.
If a result is surprising, do not immediately correct the whole bed. Review depth, zone boundaries, recent applications, labels, and laboratory notes. A confirmation sample may be cheaper than treating a sampling error.
Common questions
Can samples from several beds be combined?
Only when the beds have the same soil, management, crop use, and problem status and the laboratory permits the represented area. Separate different histories.
May I use a home pH meter instead?
A field meter can support monitoring when calibrated and used correctly, but it does not replace a laboratory fertility analysis or lime recommendation.
Should weak plants be included in the normal sample?
Not if the weakness is localized. Sample the problem area and a comparable healthy area separately, then document symptoms and roots.
How deep should I sample?
Use the depth specified by the laboratory for the crop and management system. Consistency matters, and high tunnels or reduced-tillage beds may need particular instructions.