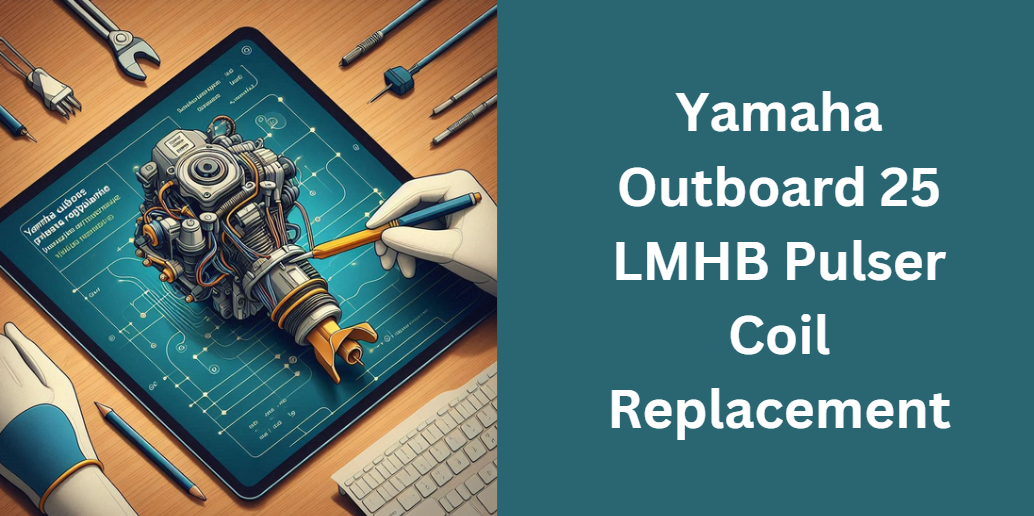
Yamaha Outboard 25 LMHB Pulser Coil Replacement – Full Guide
Your Yamaha 25 LMHB outboard engine relies on a functional pulser coil to ensure a smooth ignition process. If you’re experiencing trouble starting your motor, misfires, or sudden stalls, a faulty pulser coil might be the culprit. This guide will walk you through how to replace the pulser coil, the tools you’ll need, common troubleshooting issues, and expert tips to keep your engine in top condition.
What is a Pulser Coil & Why is it Important?
The pulser coil is a key component of the ignition system in your Yamaha outboard. It generates an electrical pulse that signals the CDI (Capacitor Discharge Ignition) system when to fire the spark plug. Without a properly functioning pulser coil, the engine may misfire, struggle to start, or not run at all.
Signs That Your Pulser Coil Needs Replacement
If you’re unsure whether your pulser coil is failing, watch out for these common symptoms:
- Hard starting or no start – If your engine is taking too long to start or fails to start at all, the pulser coil may not be generating the necessary signal.
- Intermittent misfiring – A faulty coil can cause irregular sparks, leading to misfires while running.
- Engine stalling suddenly – If the coil stops sending signals unexpectedly, the engine may die out of nowhere.
- No or weak spark – A weak spark or no spark at all is a clear sign that the ignition system has a problem, often linked to the pulser coil.
Tools & Parts Needed for Pulser Coil Replacement
Before beginning the Yamaha Outboard 25 LMHB Pulser Coil Replacement, gather the following:
Required Tools:
| Tool Name | Purpose |
|---|---|
| Screwdrivers | To remove engine cover & coil screws |
| Socket Wrench Set | For loosening and tightening bolts |
| Multimeter | To test the old pulser coil resistance |
| Flywheel Puller | To access the pulser coil if needed |
| Electrical Tape | For securing wire connections |
| Gloves & Safety Goggles | To protect hands and eyes |
Replacement Part:
- Pulser Coil Part Number: Yamaha 61N-85543-09-00
- Where to Buy: Yamaha authorized dealers, marine supply stores, or online retailers.
How to Test Your Yamaha 25 LMHB Pulser Coil
Before replacing the pulser coil, it’s a good idea to confirm whether it is defective. Follow these steps:
- Set up your multimeter – Switch it to measure resistance (Ohms).
- Locate the pulser coil wires – They usually lead to the CDI unit.
- Check the resistance – Place the multimeter leads on the pulser coil terminals.
- Compare readings with Yamaha specifications – Typically, a working pulser coil should read between 190-240 Ohms (check your service manual for exact values).
- If resistance is too high or too low, the pulser coil is faulty and must be replaced.
Step-by-Step Guide to Replacing the Pulser Coil
Step 1: Preparation Before Starting
Ensure the engine is turned off and completely cool before starting. Disconnect the battery terminals to prevent accidental electrical discharge. If your boat is in the water, secure it properly to avoid movement while working.
Step 2: Remove the Old Pulser Coil
- Open the engine cover and locate the ignition assembly.
- Identify the pulser coil, which is mounted near the flywheel.
- Carefully disconnect the wires leading from the coil to the CDI unit.
- Use a screwdriver or wrench to unscrew the mounting bolts holding the coil.
- Gently lift the old coil out of place and set it aside.
Step 3: Install the New Pulser Coil
- Place the new pulser coil in the exact position where the old one was removed.
- Secure it with mounting bolts and tighten them according to the manufacturer’s torque specifications.
- Reconnect the wiring, ensuring a firm and proper connection.
- If needed, apply electrical tape or heat shrink tubing to insulate any exposed wires.
Step 4: Reassemble & Test the Engine
- Reattach the engine cover and reconnect the battery terminals.
- Turn on the ignition and start the engine to check for smooth operation.
- Observe for any irregularities in idling or misfiring.
- If everything runs smoothly, your replacement was successful.
Post-Replacement Checklist
After replacing the Yamaha Outboard 25 LMHB Pulser Coil, make sure to:
✅ Check for proper engine start-up and smooth idle.
✅ Monitor for misfires, weak spark, or unusual engine behavior.
✅ Test the boat on water to confirm performance.
✅ Inspect the wiring after a few hours of use to ensure all connections remain secure.
Common Issues & Troubleshooting After Pulser Coil Replacement
If the engine still doesn’t start or runs poorly after the replacement, consider these troubleshooting steps:
- Engine won’t start? Check battery connections and the CDI unit.
- Weak or no spark? Ensure the pulser coil wiring is properly connected and not damaged.
- Rough idle or stalling? Verify that the coil is installed correctly and there’s no interference with the flywheel.
- Electrical issues? Inspect the stator and rectifier-regulator for faults.
Maintenance Tips for Long-Lasting Performance
To prevent future pulser coil failures and extend the life of your Yamaha 25 LMHB outboard motor, follow these tips:
- Regularly inspect the ignition system – Look for loose or corroded connections.
- Keep electrical components dry – Moisture can damage the coil over time.
- Use high-quality fuel – Poor fuel quality can lead to ignition system issues.
- Perform seasonal maintenance – Check the pulser coil’s condition before every boating season.
FAQs about Yamaha Outboard 25 LMHB Pulser Coil Replacement
Can a faulty pulser coil cause my Yamaha 25 LMHB outboard to overheat?
No, a faulty pulser coil itself does not cause overheating. However, if the coil is malfunctioning and causing irregular ignition timing or misfires, the engine may run inefficiently, which could indirectly lead to overheating. If your outboard is overheating, you should also inspect the cooling system, thermostat, and water pump.
Is there a way to temporarily fix a bad pulser coil if I’m stranded on the water?
If you suspect a pulser coil failure while on the water, you can try cleaning and securing the electrical connections in case they have come loose. Sometimes, excess moisture or corroded wiring can cause temporary failures. However, a faulty coil itself cannot be repaired—it must be replaced as soon as possible.
How long does it take to replace a Yamaha outboard pulser coil?
If you are familiar with basic engine maintenance, replacing the pulser coil should take about 30 to 60 minutes. If you are new to outboard repairs, it may take longer, especially if you need to remove the flywheel to access the coil. Always take your time to ensure a secure and correct installation.
Can using an aftermarket pulser coil affect my Yamaha 25 LMHB’s performance?
Aftermarket pulser coils can work, but they may not always match Yamaha’s OEM specifications. Differences in resistance levels or materials can lead to inconsistent spark signals and impact engine efficiency. For best performance and reliability, always use genuine Yamaha replacement parts or high-quality aftermarket options that meet OEM standards.
Does the pulser coil affect my outboard’s charging system?
No, the pulser coil is responsible for ignition timing and does not directly affect the charging system. The stator and rectifier-regulator handle battery charging. However, if the stator is faulty, it may cause similar symptoms to a bad pulser coil, so it’s important to diagnose both components properly.
Conclusion
Performing a Yamaha Outboard 25 LMHB Pulser Coil Replacement is an essential maintenance task that ensures your engine runs smoothly and efficiently. By following this comprehensive guide, you can diagnose, test, and replace the pulser coil yourself, saving money on mechanic fees and preventing potential breakdowns. Regular maintenance and careful inspection of the ignition system will keep your Yamaha 25 LMHB outboard in excellent condition for years to come.
More Posts Like
The Ultimate Guide to Travel Tweaks Offers: How to Save Big on Your Next Trip
The Ultimate Guide to the Ignitor Rheem 41V4034PF
8401030G80: The Ultimate Comprehensive Guide to Toyota Lexus Control Panel Assembly
dc1081101202103455cm00 Fan: The Ultimate Guide to Performance, Installation, and Maintenance
DEAPRULL D31A Internal Measurements: The Ultimate Guide to Size, Storage, and Fit


