Ultimate Guide to TGM-7 Saturn 4 Ultra Settings
AmeraLabs’ TGM-7 resin is specially formulated for producing durable and detailed tabletop miniatures. The Elegoo Saturn 4 Ultra printer, known for its high-resolution monochrome LCD and advanced technology, is an ideal partner for this resin.
This guide aims to explain the process and settings in clear language, so you know exactly how to dial in your printer for optimal performance. The focus of this guide is on the TGM-7 Saturn 4 Ultra Settings, a keyword that naturally threads through every aspect of the discussion.
By the end of this article, you will understand the resin’s properties, learn how to prepare and calibrate your printer, set up your slicer software, and troubleshoot common issues. You will also find a table and list examples that enhance readability and provide quick reference points for your setup.
Understanding TGM-7 Resin
AmeraLabs’ TGM-7 resin is engineered to offer an exceptional balance of toughness and flexibility, making it perfect for miniatures that need to withstand frequent handling during gameplay. The resin’s unique formulation results in prints that are both dimensionally accurate and resistant to breakage. In addition, TGM-7 resin offers a hard, glossy surface finish that captures intricate details, a critical factor for tabletop gaming miniatures.
When compared to other resins, TGM-7 stands out for its ability to print high-resolution models with minimal shrinkage or warping. Its chemical stability ensures that models remain true to design even after post-curing. Moreover, the resin’s properties—such as medium viscosity and low odor—make it user-friendly and safe for extended print sessions.
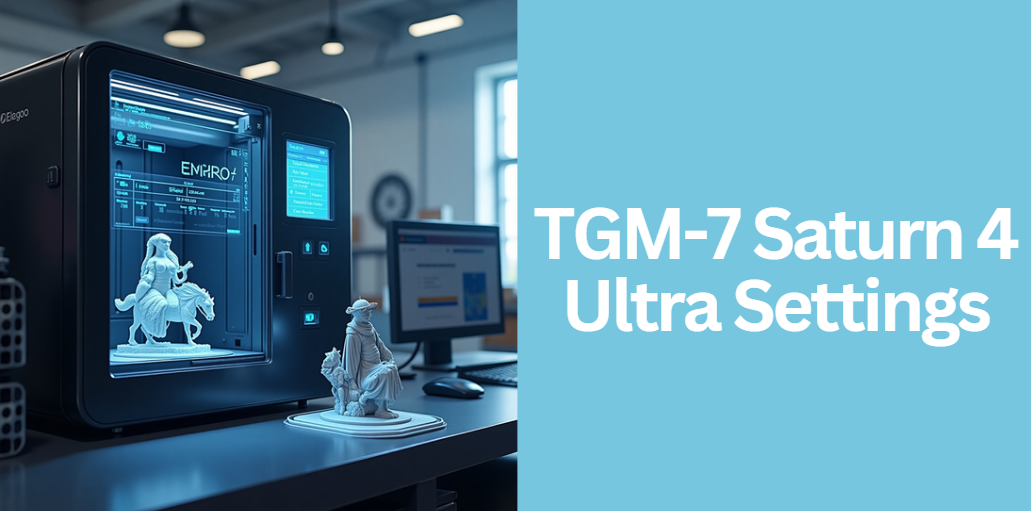
The Elegoo Saturn 4 Ultra Printer
The Elegoo Saturn 4 Ultra is a state-of-the-art resin printer that brings together high resolution, fast printing speeds, and robust build quality. With its 10-inch 12K monochrome LCD screen, the printer is capable of delivering exceptional detail, making it particularly well-suited for printing TGM-7 resin miniatures.
Key Features and Impact on Resin Settings
This printer features a high-precision light engine and an advanced UV curing system that directly impact the TGM-7 Saturn 4 Ultra Settings. The printer’s automatic leveling system, adjustable firmware, and customizable settings allow users to tailor the exposure times and lift speeds for both base and normal layers. Understanding these features is essential, as even small variations in settings can affect the adhesion, layer accuracy, and overall quality of your print.
Setting Up Your Print for Success
Before diving into detailed settings, proper preparation is crucial. Ensuring that both your printer and resin are in optimal condition will significantly affect the final print quality.
Pre-Print Preparations
Begin by calibrating your printer thoroughly. Manual leveling or an accurate automatic leveling system ensures that the build plate is perfectly aligned with the LCD screen. Maintaining the printer in an environment with a controlled temperature (ideally between 22°C to 25°C) helps stabilize resin viscosity and curing performance.
Resin storage is also important. Always shake your TGM-7 resin bottle well before use to ensure the pigments and additives are evenly distributed. This simple step prevents inconsistencies during printing.
Software and Slicer Setup
Once your printer is calibrated and the resin is well-mixed, the next step is to configure your slicer software. Whether you use Chitubox, Lychee, or another slicer, importing the manufacturer’s recommended profile for TGM-7 is a good starting point. You may need to adjust settings such as exposure times, lift speeds, and support structures based on your specific printer model and environmental conditions.
For instance, an initial setup for TGM-7 Saturn 4 Ultra Settings might include:
- A layer height of 50 µm.
- Normal layer exposures in the range of 3.2 to 3.5 seconds.
- Base layer exposures significantly longer (around 25–50 seconds) to ensure strong adhesion.
- Light off times of approximately 11.5 seconds between layers.
These parameters serve as a baseline that you can adjust after running several test prints.
Detailed TGM-7 Saturn 4 Ultra Settings
Achieving perfect prints involves understanding and adjusting multiple parameters in your printer and slicer settings. Below, we detail the key settings for each phase of the print.
Layer and Exposure Settings
The foundation of any successful resin print lies in the layer settings. When using TGM-7 resin, a 50 µm layer height is common, balancing detail with print speed. The base layers, which provide adhesion to the build plate, require extended exposure times—often around 25 to 50 seconds per layer—to ensure the print sticks firmly. Subsequent normal layers can have shorter exposures, typically between 1.9 and 3.5 seconds.
Print Speed and Lift Settings
The speed at which the build plate lifts and retracts affects the quality of your prints. Slower lift speeds for the base layers (around 5 mm/min) help in reducing the risk of print detachment, while normal layers can be retracted faster (approximately 40–60 mm/min). Fine-tuning these settings helps minimize print compression (often referred to as “elephant foot” effect) and ensures consistent layer bonding.
Example Table of Settings
Below is an example table summarizing the TGM-7 Saturn 4 Ultra Settings as a starting point:
| Parameter | Recommended Value | Description |
|---|---|---|
| Layer Height | 50 µm | Standard detail for miniature printing. |
| Base Layer Exposure Time | 25 – 50 seconds | Ensures strong adhesion to the build plate. |
| Normal Layer Exposure Time | 1.9 – 3.5 seconds | Cures each normal layer quickly for consistency. |
| Light Off Time | 11.5 seconds | Allows resin to settle between exposures. |
| Lift Speed (Base Layers) | 5 mm/min | Prevents excessive force on the base during separation. |
| Lift Speed (Normal Layers) | 40 – 60 mm/min | Speeds up the process without compromising quality. |
This table is intended as a reference point. Your optimal settings may vary depending on your specific machine and ambient conditions.
Advanced Calibration and Fine-Tuning
Once you’ve established your initial TGM-7 Saturn 4 Ultra Settings, it’s important to run test prints and make incremental adjustments. Performing working curve measurements—where you expose a test model at different times—can help you determine the exact exposure time needed for your resin under current conditions.
During calibration, print small test objects like “town” models or simple cones to evaluate layer adhesion, dimensional accuracy, and surface finish. Record your settings and note any issues such as overexposure or insufficient adhesion. Then, adjust one parameter at a time until you reach the ideal balance.
Troubleshooting Common Issues
Even with careful calibration, issues can arise. Overexposure may cause layers to become too thick, resulting in a loss of fine detail. Underexposure can lead to poor layer bonding, while improper lift settings might cause the base layers to compress or “squish” into the model.
If you experience any of these problems, review your settings:
- Check if your base layers have adequate exposure.
- Ensure that the light off delay is sufficient to allow resin to flow and settle.
- Verify that your printer’s leveling is accurate.
A methodical approach—testing one parameter at a time and documenting changes—can help you pinpoint the cause of the issue and adjust your TGM-7 Saturn 4 Ultra Settings accordingly.
Post-Processing and Finishing Techniques
After your print completes, proper post-processing is essential for achieving a durable final product. Begin by removing the print from the build plate and cleaning it with isopropyl alcohol (IPA) following a structured procedure. For example, you might:
- Submerge the print in IPA for 10 minutes.
- Agitate gently for 1 minute.
- Let it sit for another 10 minutes, then remove and dry.
Post-curing is also critical. Use a UV chamber with appropriate wavelengths (395-405 nm) for at least 15 minutes to 1 hour. This step improves the resin’s hardness and ensures that your miniatures are ready for painting or further finishing. If you plan to remove supports, doing so after post-curing will reduce the risk of damaging the printed details.
User Experiences and Expert Tips
Many users have shared their experiences and tweaks on forums such as Reddit and Maker Trainer. For example, some enthusiasts have noted that starting with a slightly thicker raft or adjusting the support density can prevent common adhesion issues. Others suggest that a minor adjustment to the lift speed in the first few layers can significantly improve the overall print quality.
Expert users also emphasize the importance of using a test print model to validate every change, rather than relying on one-size-fits-all settings. This iterative approach allows you to gradually refine your TGM-7 Saturn 4 Ultra Settings until your prints consistently meet your quality standards.
Maintenance, Upgrades and Future-Proofing
To ensure long-term success with your resin printer, regular maintenance is essential. Clean your build plate, check for firmware updates, and re-calibrate periodically to account for any environmental changes or mechanical wear. Staying engaged with community forums and manufacturer updates will also help you stay ahead of any adjustments that may improve performance or fix common issues.
Maintaining a detailed log of your settings and adjustments can be invaluable when troubleshooting future prints. Over time, this log becomes your personalized guide to the optimal TGM-7 Saturn 4 Ultra Settings for your specific setup.
FAQ’s About TGM-7 Saturn 4 Ultra Settings
- What are the typical challenges encountered when printing with TGM-7 resin on the Saturn 4 Ultra?
Users sometimes notice issues such as slight layer misalignments or variations in surface texture that require careful adjustment of printer parameters and consistent monitoring of environmental factors. - How should I safely modify my printer’s settings without risking hardware or print quality?
It is best to make incremental changes and conduct small test prints. Consulting community advice and manufacturer guidelines can help you ensure that each adjustment is safe and effective. - Do I need specialized post-curing equipment to work effectively with TGM-7 resin?
While standard UV curing setups are generally sufficient, some users find that devices offering uniform light distribution and temperature control provide an extra layer of assurance for optimal final part strength. - How do ambient conditions influence my TGM-7 resin printing experience?
Stable temperature and humidity help maintain the resin’s ideal viscosity and curing behavior. Variations in these conditions can alter the resin’s performance, so it’s advisable to work in a controlled environment. - Is TGM-7 resin compatible with other 3D printers besides the Saturn 4 Ultra?
Yes, TGM-7 is designed to work with a wide range of MSLA and DLP printers. However, optimal settings may vary between models, so it’s important to perform your own tests when using different equipment.
Conclusion
In summary, achieving the perfect print with AmeraLabs’ TGM-7 resin on an Elegoo Saturn 4 Ultra requires careful calibration, understanding of resin properties, and meticulous adjustments to your printer’s settings. By following this guide—covering everything from initial setup and exposure times to post-processing and troubleshooting—you can develop a deep understanding of your TGM-7 Saturn 4 Ultra Settings and consistently produce high-quality, durable miniatures.
This article has provided you with detailed instructions, tables, and expert advice designed to simplify the process while ensuring that your content remains unique and informative. We hope this guide empowers you to fine-tune your resin printing process for the best possible outcomes in your tabletop gaming projects.
More Posts
Supercharge Your Business With Paid Campaigns Technosuffice: The Ultimate Guide
The Ultimate Guide to Artists Directory Arcy Art: A Comprehensive Overview
Ultimate Guide to the Game Event Under Growthgameline – The Premier Gaming Convention Uncovered